


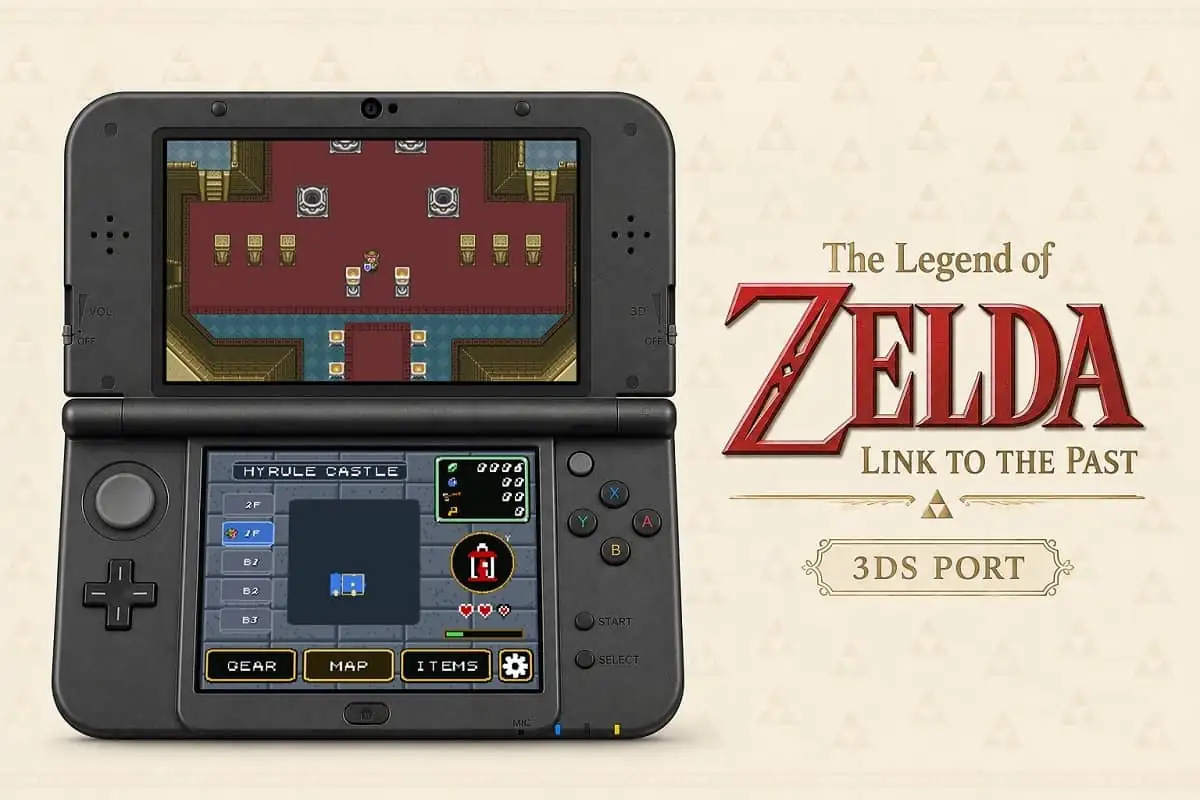
The 3DS homebrew scene just got a genuinely exciting addition: a fan-made, dual-screen port of The Legend of Zelda: A Link to the Past built specifically for Nintendo’s dual-screen handheld.
The project, developed by GitHub user EstebanPdN, isn’t an emulator wrapper or a simple ROM hack, it’s a from-the-ground-up 3DS build of the reverse-engineered zelda3 engine, tailored to take advantage of the console’s second screen, touch input, and processing cores in ways the original SNES cartridge obviously never could.
If you’ve been following the retro reverse-engineering scene for a while, you probably already know where the foundation for this comes from. And that backstory is honestly just as interesting as the port itself.
The reverse-engineered engine behind it all
This 3DS port doesn’t exist in a vacuum. It’s built on top of zelda3, the reverse-engineering project originally released by GitHub user snesrev, which disassembled the original SNES cartridge and rebuilt the entire game logic from scratch in roughly 70,000 to 80,000 lines of C code, with help from about 19 contributors and years of prior disassembly documentation from the community.
Crucially, the reimplementation doesn’t contain any of Nintendo’s original code, art, or assets, it’s a clean-room recreation of the game’s logic, meaning players still need to supply their own legally dumped ROM to extract the actual game resources.
What made zelda3 such a big deal was that it wasn’t just a curiosity, it was a fully playable, start-to-finish recreation that opened the door to features the original hardware could never support: pixel shaders, widescreen aspect ratios, a secondary item slot, and even the option to run the original machine code alongside the C reimplementation frame-by-frame to verify accuracy. That last part is a wild detail on its own; the project essentially audits itself in real time to make sure the rebuilt version behaves identically to the SNES original.
Since then, zelda3 has become something of a base camp for other ports, including an Android version by Waterdish and a dual-screen Android branch by samyost1, and it’s that dual-screen branch that EstebanPdN used as the direct source base for bringing everything over to the 3DS.
How the dual screens actually work together
This is where things get genuinely clever, because a straight SNES port to 3DS would just squeeze a 4:3 image onto one panel and waste the bottom screen entirely. Instead, this build treats the second screen as a real part of the interface. The top screen runs gameplay at 400×240, while the bottom 320×240 touch screen handles a live map, the dungeon map, a gear view, and item selection, all things that would normally require pausing and digging through menus on the original release.
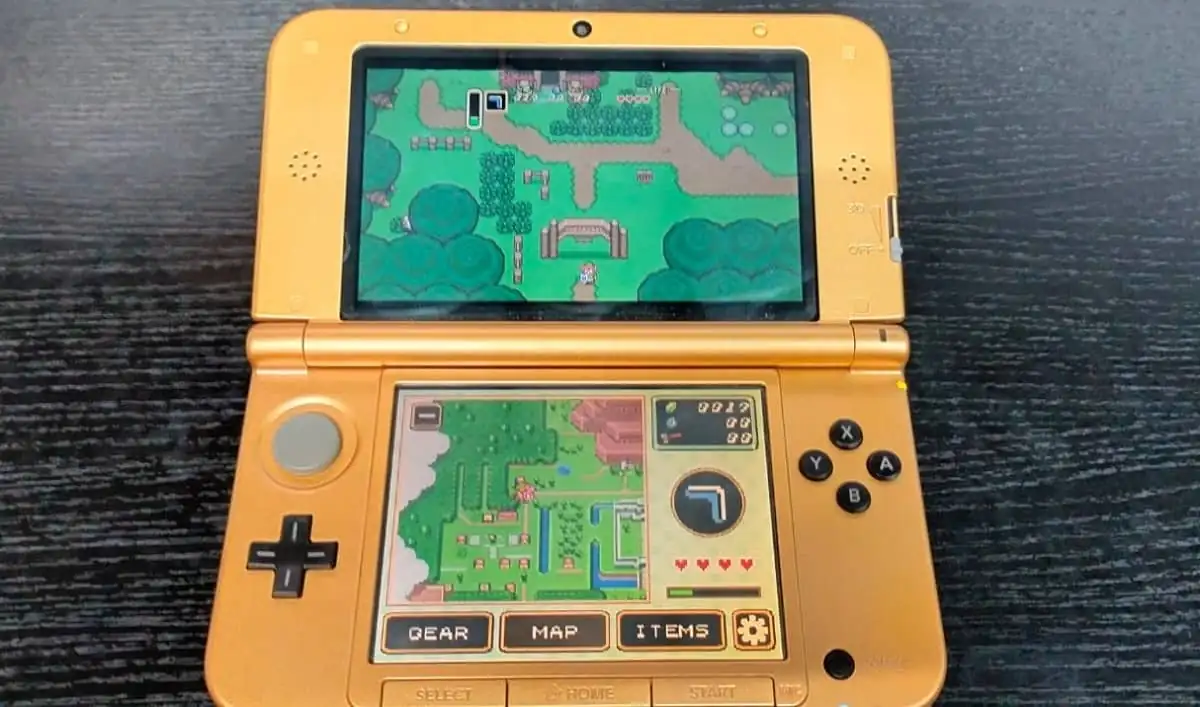
There’s a screen mode menu offering ORIGINAL, STRETCH, and WIDE display options, with STANDARD and FIXED variants for wide mode depending on how you like your aspect ratio handled. For players who want to blaze through familiar dungeons, there’s also adjustable turbo speed up to 5x, and on New 3DS hardware, the ZL button or C-stick can be used to hold turbo on the fly instead of toggling it in a menu.
Under the hood, the port leans on the New 3DS’s extra processing power where it’s available. PPU scanline rendering is split across Core 0 and Core 1, with Core 2 pulled in as well on New 3DS units, alongside persistent tile-row caching to keep performance steady.
The game targets a fixed 60Hz timing loop with bounded catch-up logic, rather than letting game speed drift based on when a VBlank wait actually returns, a subtle but important distinction for anyone who’s dealt with inconsistent frame pacing on homebrew builds. There’s even a built-in diagnostics shortcut: pressing L+R+A dumps memory files along with screenshots from both screens, which is a nice touch for anyone troubleshooting or just curious about what’s happening under the hood.
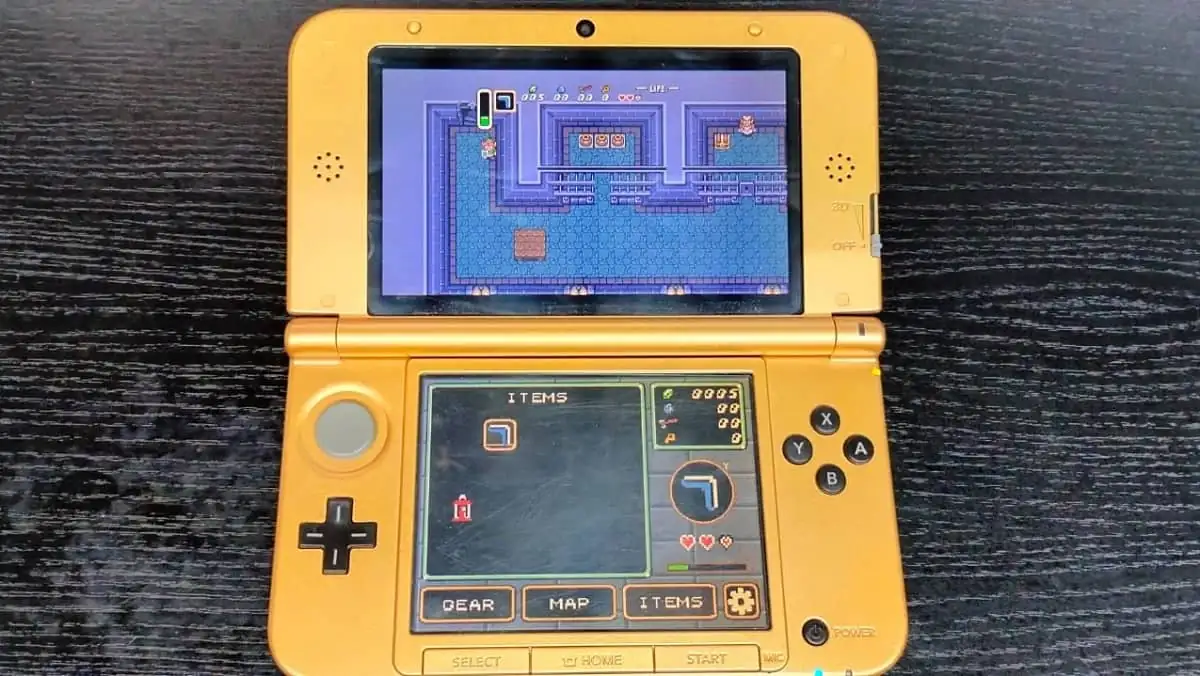
The presentation layer uses PICA200 and Citro2D rendering with nearest-neighbor sampling, keeping that crisp, unfiltered pixel-art look rather than smoothing everything into a blurry mess, something pixel art purists will appreciate. On first launch, the game extracts its asset package locally from the user’s own ROM file, and the HOME Menu entry is versioned per build, complete with a lightweight 3D box model and a converted hover sound for that extra bit of polish.
How to get it running on your own 3DS
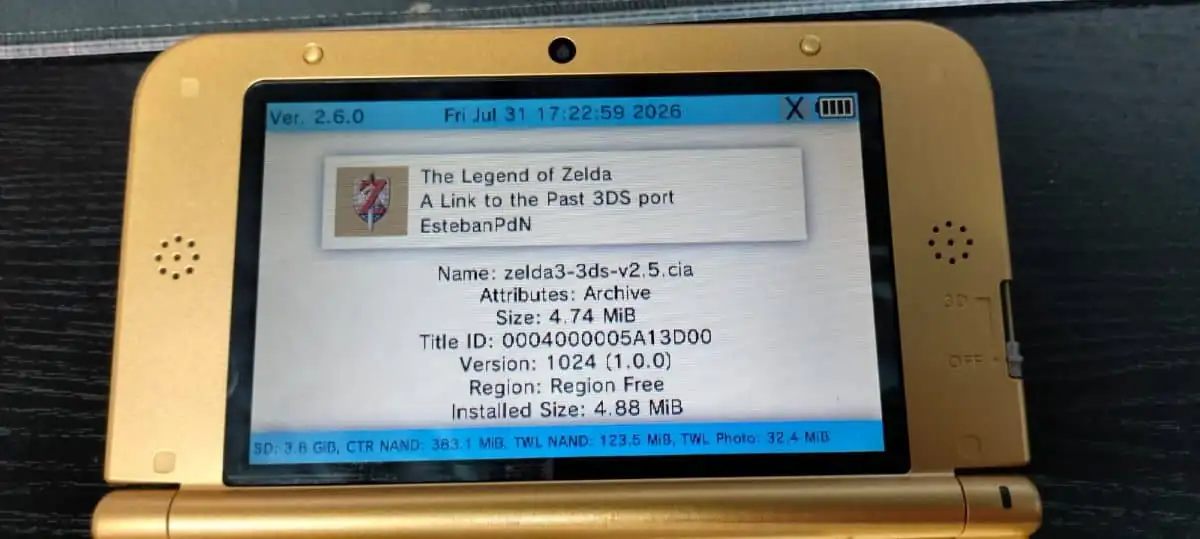
Setup is fairly straightforward if you’re already comfortable with 3DS homebrew. After installing the CIA file, you’ll need to create a folder at sdmc:/3ds/Zelda 3DS/ on your SD card and drop in your own legally obtained, unheadered USA ROM, the project recommends naming it zelda3.sfc, though other .sfc or .smc filenames are also accepted.
On first boot, pressing A validates the ROM and extracts the assets needed to run the game; the ROM itself is read locally and never bundled into the CIA. For audio, you’ll also need a dumped DSP firmware file, which Luma3DS users can grab straight from their console using Rosalina’s “Dump DSP firmware” tool.
Each GitHub release ships with the installable CIA, a Homebrew Launcher 3DSX build, and a QR code so you can scan the CIA URL directly through FBI on your console, pretty much everything you’d need to get up and running without touching a computer twice. And to be clear on the legal side: the repository itself only distributes source code, build scripts, and port-specific logic, no ROM, no extracted assets, nothing that belongs to Nintendo. It’s entirely on the user to provide a copy they legitimately own.
For anyone who grew up moving Link across Hyrule on a CRT and has always wondered what a “proper” handheld reimagining might look like, this project is worth keeping an eye on. It’s still a community effort, actively maintained, and clearly built by someone who cares about squeezing real functionality out of that often-underused bottom screen.
If you want to try it yourself, the full source, build instructions, and the latest CIA release are available on the project’s official GitHub page.
So, what do you think, would you actually play through all of A Link to the Past using a setup like this, or does it feel like it’s missing something for you? Drop your thoughts below!